Friday, May 31, 2013

Initial Thoughts- The Nursery Edition

So, I'm kind of obsessed with initial art.  I find myself pinning more and more and more of it on Pinterest.  I created this one with mine and Chris' initials back a couple of years ago for the family room.


You can read my post and see the tutorial on that here.

I knew I wanted to bring something into the nursery that displayed Khloe's initials.  I spelled her name with a K to be unique, so I wanted to do something with K.

On one of my Pinterest kicks, I found this button art that I thought would be cute.


By the way, I now have a Pinterest page for the blog.  Follow me by clicking here! 
 
So I tried it out and quickly found out that whoever made this is a freak of nature.... a very crafty, perfect freak of nature!  Look how straight the lines are with round buttons.... how do you do that??  Mine looked all lumpy and not perfect AT ALL!!!  I don't think I have the patience to fit all those buttons perfectly together.  I'm more of an instant gratification kind of gal.
 
Plan B- make it out of beads instead of buttons.
 
I bought a cheap 8"x10" frame from the dollar store and spray painted it glossy white.  I disgarded the glass.


I started out by printing out a K in the font and size that I wanted mine to be.  I attached that to the backing of the frame.
I took a roll of burlap from Lowe's (you can find it in the garden section) and layered it over my K printout until it was the thickness I wanted and hot glued the edges.  I left it translucent enough so that I could see the K through it as a guide to glue my beads.


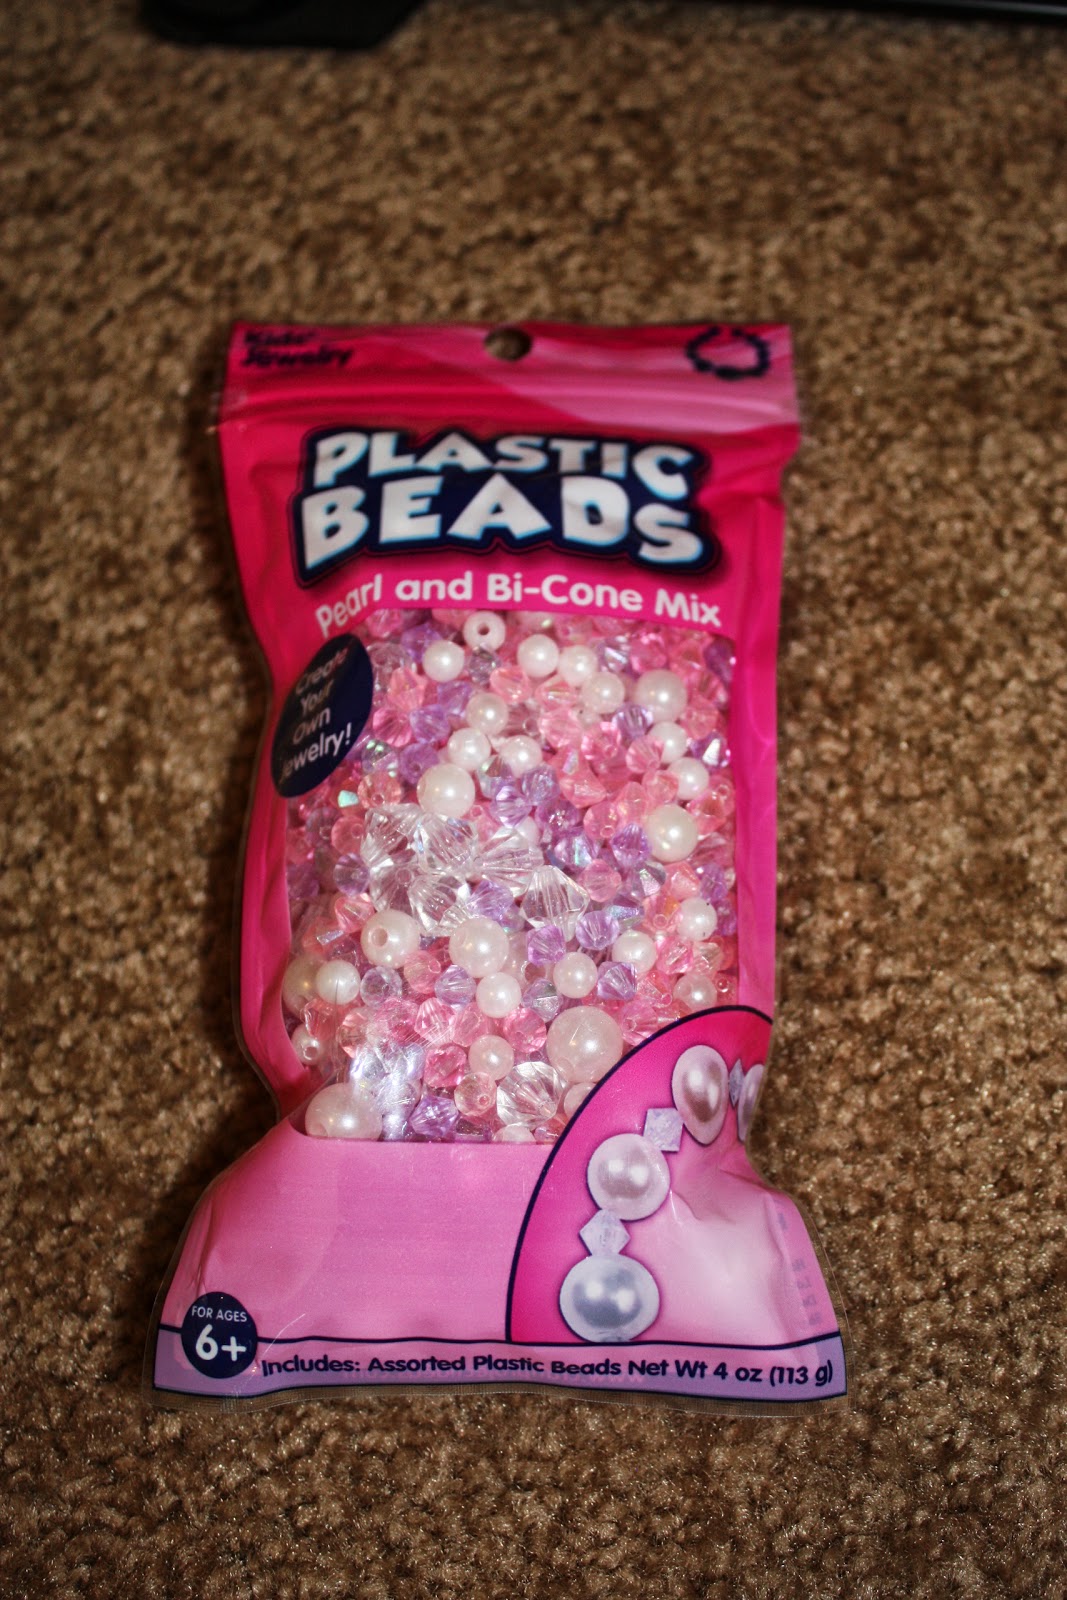
I hot glued the beads to the burlap until every bit of the printout was covered. 


It wasn't the plan I started out with, but I actually like this better than the buttons anyways, gives the room a bit of bling ;)


-Brooke


Wednesday, March 20, 2013

Rock-a-bye Baby in the Treetop

Back in my original post about the nursery here, I mentioned how much fun I had doing things I had never gotten to do before.  My favorite thing in the nursery by far is the tree on the wall.


I knew I wanted to do something like this from some inspiration on Pinterest, but I was so dag-on nervous.  I literally paced around the room for about a week before I decided that I just had to go for it.  I think the major reason for my nervousness was that we didn't have any of the green paint left for me to cover up any mistakes.  Yeah yeah... I know... I could've always gotten more mixed..... just let me have my little breakdown.....

So the night I decided to take the plunge, I had printed off a picture of one from Pinterest to use as a guide.  I soon decided (after messing up about 5000 times) not to use the picture and just to freestyle it.

First step was to draw it out with a pencil so that I could erase what I didn't like.  (it's hard to see in the pics, but that's a good thing... it meant it wasn't that visible in person and that was what I was going for in this step).


After I got it where I wanted it, I tackled it with some brown acrylic paint.  I did a few different shades of brown to add some depth.


To do the flowers, I cut some foam into the shape I wanted to make a stamp.  Then I just went crazy putting flowers everywhere.  I didn't want it to look uniform, so i just went crazy stamping anywhere my little arms would reach with no pattern.


I did a mixture of pink and white flowers to tie into the color scheme of her room.  I wanted it to look like the wind was blowing the flowers off of the tree and over her bed, so I continued the flowers onto the next wall.


And there you have it!!  I am in love with it.  The most depressing day of my life will be when Khloe asks if we can paint over it.... I'm probably just gonna say no :)

-Brooke


Tuesday, March 12, 2013

Nursery Dresser Re-do

One of my favorite things in the nursery is the dresser.  It's a small dresser (probably really a night stand) but who needs a huge dresser taking up all that space?

I think my favorite part about this dresser is that is was in Chris' room when he was growing up.  It's a bit more girly now, but at least Khloe has a part of her Daddy's room in her room :)


The dresser was in pretty rough shape.  It was very scuffed and beat up.  Turns out, all it needed was a little TLC!!!

First came my least favorite part of any furniture re-do.... sanding..... I LOATHE sanding.....

After that came the fun part... PAINT!!!

 
I used Sherwin Williams paint, just the off-the-shelf white.  It took 4 coats.


After it was painted white, I decided to put a little pink stencil on the drawers.  Simple enough!

 
I re-used the hardware on the top drawer, but I gave it a facelift.  I spray painted it chrome.  I bought new hardware for the bottom drawer. 


There are a few overlaps on the stencil, but hey, it gives it character ;)

-Brooke

My blog has moved!

You should be automatically redirected in 6 seconds. If not, visit
www.lifeonagravelroad.com
and update your bookmarks.