
Finally we came to the conclusion that when he finished the basement (his man cave) he could choose whatever he wanted down there and I could make the upstairs however I wanted. YAY!! Well... the basement is finished! I'll post about it at some point once I get some pictures. Now that it's finished I've started painting all of the upstairs trim white. I plan to top it all off by painting the kitchen cabinets white too, but even thinking about that project is daunting.
I decided to start at one end of the house and work my way across. Our master bedroom was already painted, so the next room was the front living room. This is the room you enter when coming through the front door. Here is a picture of it before with the orangey trim.

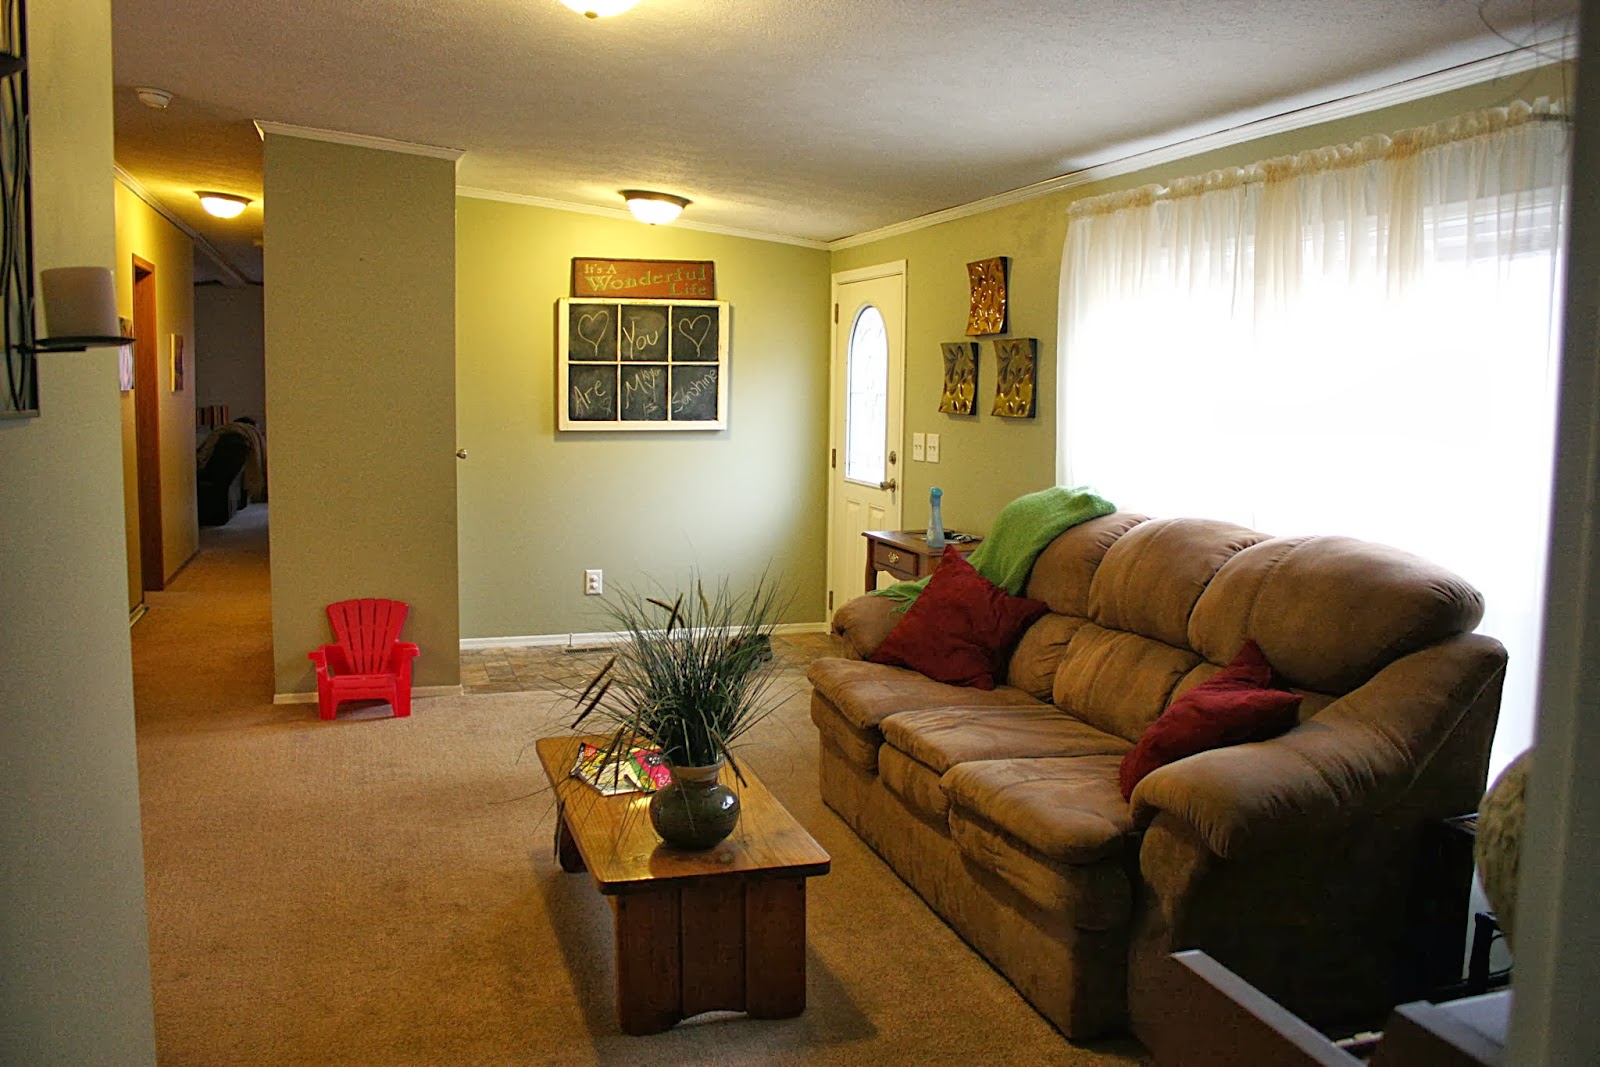
And here's a picture with the newly painted trim.

It's sooo much brighter and makes the space feel bigger. Since I was going through the process of updating this space, I decided it was time for a curtain upgrade.
When we first moved into our house, we concentrated most of our money on things like furniture instead of things like curtains and decorations. I just went to Walmart and picked out the cheapest curtains I could find to cover the windows. I think these sheers were $4 per panel. What I didn't know at the time was that I could make my own for the same price. Thank goodness for Pinterest :)
Here are a few more pictures of the old curtains. They were on the cheap white rods that came with our house. Of course, these curtains were never my favorite, but they never really bothered me until I painted the trim. The curtains are cream and once I painted the trim white, it just made them look dirty.


First thing I needed to replace was that rod. You can really get into some expense with curtain rods. I had this rod in my office and decided it would be of better use here in the living room.

It was chrome, but I wanted oil rubbed bronze, so out came the spray paint.


To replace the curtains, I just wanted white cotton. Nothing fancy, just simple and bright. I didn't want to spend much, so I decided to make them out of sheets. One flat twin sheet will make two panels. I got this sheet from Walmart for $4.

First, I made sure the sheet was folded exactly in the middle and ironed it to make a clean line. Then I cut along that line to make it into two panels.


Khloe was walking on the sheets the whole time I was trying to cut them and I couldn't resist taking a picture of her chunky little foot :)

Since I cut down the middle, the panels were already hemmed on one side, so the only thing I had to do was hem the other side. I did this to two sheets, because I needed three panels.
Instead of putting the rod through the curtains, I bought curtain clips from Target. I had enough for 4 clips per panel. I spaced them evenly across each panel.

And here is the end result. :)

Photo bomb by Khloe...


And here's a before and after.

It's definitely brightening up around here.
So, total cost of the new curtains-
(2) flat sheets- $4 each= $8
(2) packs curtain clips- $4 each (on clearance at Target)= $8
Curtain rod- already owned
Total= $16!
-Brooke
No comments:
Post a Comment