Sunday, March 2, 2014

Painting Trim & Making $16 Curtains

I've always loved white trim.  Chris has always loved wood trim.  When we built our house, I didn't realize that I liked white yet, so there was no argument, we just chose wood.  The problem with this wood trim is that it is very low quality builder's grade and the shade of wood is orangey brown.... not my cup of tea.  Chris really doesn't like this shade of wood either, but he prefers it over white.  We were at an impasse.

Finally we came to the conclusion that when he finished the basement (his man cave) he could choose whatever he wanted down there and I could make the upstairs however I wanted.  YAY!!  Well... the basement is finished!  I'll post about it at some point once I get some pictures.  Now that it's finished I've started painting all of the upstairs trim white.  I plan to top it all off by painting the kitchen cabinets white too, but even thinking about that project is daunting.  

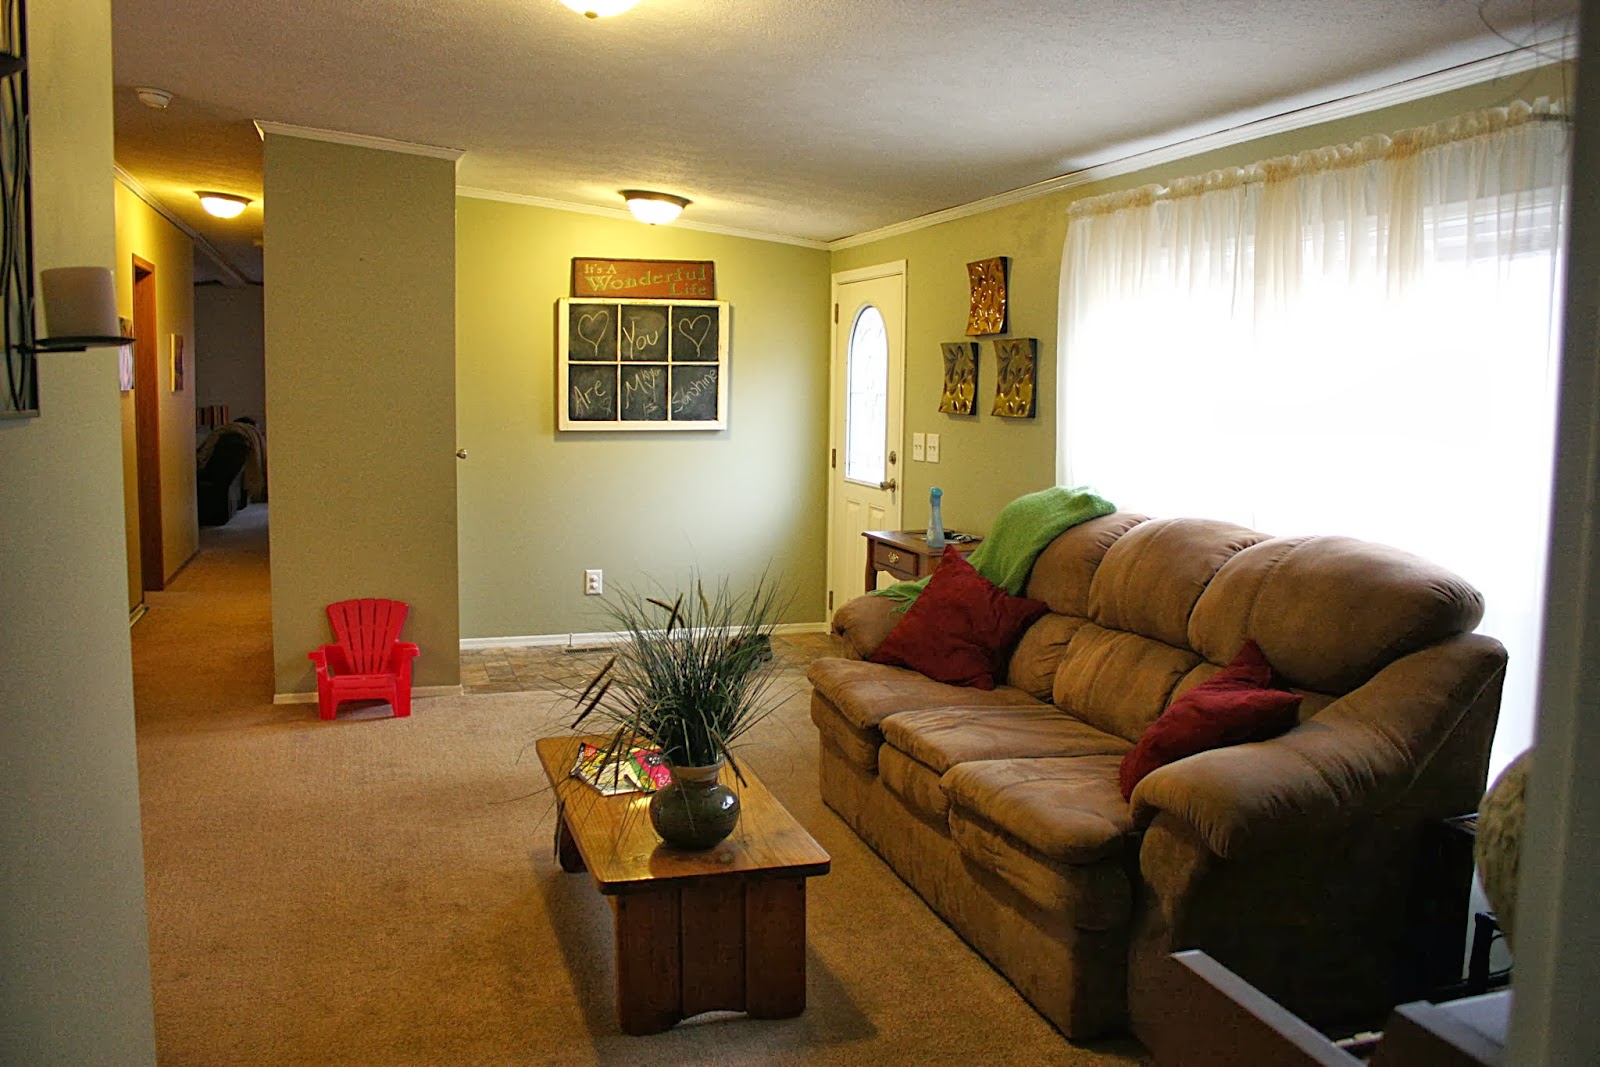
I decided to start at one end of the house and work my way across.  Our master bedroom was already painted, so the next room was the front living room.  This is the room you enter when coming through the front door.  Here is a picture of it before with the orangey trim.


And here's a picture with the newly painted trim.


It's sooo much brighter and makes the space feel bigger.  Since I was going through the process of updating this space, I decided it was time for a curtain upgrade.  

When we first moved into our house, we concentrated most of our money on things like furniture instead of things like curtains and decorations.  I just went to Walmart and picked out the cheapest curtains I could find to cover the windows.  I think these sheers were $4 per panel.  What I didn't know at the time was that I could make my own for the same price.  Thank goodness for Pinterest :)

Here are a few more pictures of the old curtains.  They were on the cheap white rods that came with our house.  Of course, these curtains were never my favorite, but they never really bothered me until I painted the trim.  The curtains are cream and once I painted the trim white, it just made them look dirty.


First thing I needed to replace was that rod.  You can really get into some expense with curtain rods.  I had this rod in my office and decided it would be of better use here in the living room.  


It was chrome, but I wanted oil rubbed bronze, so out came the spray paint.


To replace the curtains, I just wanted white cotton.  Nothing fancy, just simple and bright.  I didn't want to spend much, so I decided to make them out of sheets.  One flat twin sheet will make two panels.  I got this sheet from Walmart for $4.


First, I made sure the sheet was folded exactly in the middle and ironed it to make a clean line.  Then I cut along that line to make it into two panels.


Khloe was walking on the sheets the whole time I was trying to cut them and I couldn't resist taking a picture of her chunky little foot :)


Since I cut down the middle, the panels were already hemmed on one side, so the only thing I had to do was hem the other side.  I did this to two sheets, because I needed three panels.

Instead of putting the rod through the curtains, I bought curtain clips from Target.  I had enough for 4 clips per panel.  I spaced them evenly across each panel.


And here is the end result.  :)


Photo bomb by Khloe...


And here's a before and after.


It's definitely brightening up around here.

So, total cost of the new curtains-

(2) flat sheets- $4 each= $8
(2) packs curtain clips- $4 each (on clearance at Target)= $8
Curtain rod- already owned
Total= $16!  

-Brooke

Saturday, February 22, 2014

Making the Most of Unused Space

Have you ever taken a look around your house at all of the wasted space?  We had a spot in our family room that was a complete and total waste of space.  On the fireplace wall of our family room, the fireplace comes out in the middle and on either side, is just a big hole of what I thought was mostly unusable nothingness.  


On the left we have a bookcase that holds our Blu-Ray player and our satellite box.   On the right... nada.

Enter problem #2- our house is a 3 bedroom house.  We take one, Khloe takes one and the other is an office.  You can see more on how I created this office here, here, and here.


I love this room for crafting, sewing and being creative.  But when it comes to the computer, we could forsee issues.

Issue #1- When we have another kid, we'll need this bedroom for a nursery. (this will be a while... hopefully)
Issue #2-  I hate feeling like I'm trapped in here while on the computer... I want to be where everyone else is
Issue #3- When Khloe is a teenager, I really don't want her in a separate room from us while she's on the computer... this would prevent me from being obnoxious and over-bearing :)
Issue #4- While the desk is great, there is no file storage.

So, to my handy-man husband I went again.  I had this idea that we could fill up the empty space in the family room with a built in desk.  My idea was pretty basic, but Chris took it and ran with it.  Now our family room looks like this. (forgive the blurry picture, I obviously had a case of the shakes)


Don't ask me how he did it, I have no clue.  I just know he took regular old boards from Lowe's and made the cabinets and rough-cut lumber to make the top.

We have a stack of rough-cut lumber outside that we plan to use for our porch, there is some extra, so he used that for the top of the desk.  It is pure cherry wood with Natural stain and quite a few coats of polyurethane.  He planed them down to make a smooth finish and glued them together to form the counter top.


The cabinets on the bottom (like I said before) were just plain old boards from Lowe's.  It amazed me that he made these.  The drawers on the left are file cabinets, plenty for all of our personal and business files.


For the handles, I chose these oil-rubbed bronze ones from Lowe's.


When it's all said and done, Chris estimates we had around $70 in it.  There is no way we could have bought a desk that fit perfectly into this space for that amount of money.

Now I just need to either re-do that chair or find a different one for the desk. Oh and I guess now that I have filing cabinets I have to go through all of our paperwork.... YIKES!

Here are some updated pictures of the rest of the family room just for giggles.  But, don't get used to it.  I'm in the process of painting the trim and putting up new curtains right now.


-Brooke

Thursday, January 30, 2014

Lamp Re-Do

I've had this lamp in my house for about 2 years now.  


I've always loved the lamp, but recently I noticed something.... it is literally the exact same color as my walls.  Ever since I noticed this, I can't stop noticing it.  If I squint and look at it, it just blends right into the wall and disappears.... I needed to do something about it to calm my OCD.

I decided to paint it.  I went through a ton of Pinterest ideas looking for a design to paint and nothing was really working for me.  Finally I decided to just pick something and go with it.  I went with stripes.  

To make the stripes, I measured out on the top and bottom of the lamp.  I went with 2 different size stripes, 1"and 1/2" rotating.


Once I had everything marked out, I started connecting the mark on the top of the lamp to the mark on the bottom to make straight lines.  Then I realized my lines were not straight.  So, I went through and made the marks again to see where I was off and thought I had it all figured out.  Then I made the lines again and guess what... they weren't straight either... The lamp ended up looking like this...


And I ended up looking like this... (incredibly flattering picture)
    

I was just about ready to give up and then Chris told me to make a template to go off of.  So, I made a 1" strip and 1/2" of cardboard.  I made my first stripe using the seam of the lamp as my guide and then went off of each previous stripe until I went all the way around. 


By the way, if you have a pool table that you never use, it makes a great work table.  If you don't have a pool table, don't get one... you won't use it.


Finally it was time to paint.  Here is the cast of characters I chose.  And yes, I realize 3 of these are outdoor paints.  I didn't want to buy more paint, so I used the ones I already had.


A few stripes down...


And done!

I like the brushstrokes in it that make it imperfect.


And it's actually pretty cool when the light is on.  The paint strokes really show through.


And now for the before and after.

So what's the verdict?  I'm really not sure yet.  I like it, but I don't love it.  I'm going to live with it for a while and see if it grows on me, but right now, I'm just happy that it isn't blending into the wall anymore.

Oh, and Mom.... I'm coming to your house to do this to all of your lamps...  :)  Just kidding, I just wanted to cause you to panic a little :) :)

-Brooke

My blog has moved!

You should be automatically redirected in 6 seconds. If not, visit
www.lifeonagravelroad.com
and update your bookmarks.